Self Service Portal Systems
You can create multiple Self Service Portal systems and then use Designer to give them different skins (branding, fonts, and color schemes) and different menu panels (My Options). Self Service Portal systems can be renamed, deleted, and restored.
You do not need to specify Self Service Portal key in the URL if you are logging in to the default Portal.
Creating a Self Service Portal system
Before you start
You must have Self Service Portal Setup enabled within your General Access Security Role in order to configure any Self Service administration settings.
-
Select Menu
 and then Admin. Select System Administration. The System Administration window is displayed.
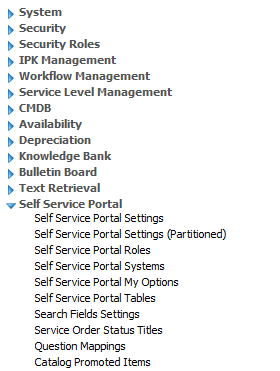
  In the Explorer pane, locate the Self Service Portal group, scrolling down if necessary.
  You may need to expand the group to see the options within it.
 - Select Self Service Portal Systems to display a browse table of existing systems
 . (You may like to adjust the column widths to see all of the columns.)
 - Select
 . A new row is added to the browse table.
 - Complete the details.
- Select
 to save the changes. Provide the Change Reasons if prompted to do so.

| Self Service Portal System Name | Type the name of the new system |
| Self Service Portal Key | Enter a unique identifier needed in the URL to access the new Self Service Portal.
If you specify Self Service Portal Key as SALES, the URL to access this Portal would be: http://.../systemname.aspx?Lite&Portal=SALES. |
| Default |
Select to use this as the default Self Service portal system Users will not need to specify Self Service Portal key in the URL if they are logging in to the default Portal (http://.../systemname.aspx?Lite). |
| Display Name |
|
| Skin |
Select the Skin to use for this system. If you have permission to access to the Designer through your security role, you can change the look and feel of each Self Service portal system by creating personalized Skins. |
| Home Page | Select the style of home page, either Default or Classic. Default is a new style introduced with version 9.3.0. Classic is pre-version 9.3.0. |
| My Options |
Select a menu pane configuration (My Options) for this system. Multiple menu panes can be created and configured in Self Service Portal My Options in System Admin. |
| Portal Tables | Select the set of portal tables that you want to use to decide the columns that are displayed and the order in which they are shown. |
Once you select , the browse table displays the entries in alphabetical order.
If you have permission to access to the Designer through your security role, you can change the look and feel of each Self Service portal system by creating personalized Skins.
Deleting a Self Service Portal System
Before you start
You must have Self Service Portal Setup enabled within your General Access Security Role in order to configure any Self Service Portal administration settings.
You cannot delete the system defined Self Service portal system. This is typically called Default, but may have been renamed by your system administrator.
-
Select Menu
and then Admin. Select System Administration. The System Administration window is displayed. In the Explorer pane, locate the Self Service Portal group, scrolling down if necessary. You may need to expand the group to see the options within it. - Select Self Service Portal Systems to display a browse table of existing systems
 . (You may like to adjust the column widths to see all of the columns.)
 - Select the system you wish to delete. Select
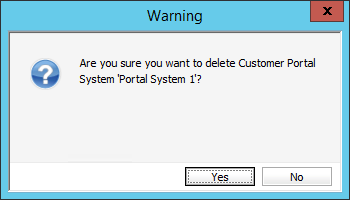
 . If you attempt to delete the system default, you will receive a warning message.
 - A warning dialog box appears for you to confirm your choice
 . Select
  to continue or
  to cancel.
 - The deleted Portal System disappears from view, but it is not yet deleted from the system.
- Select to save the changes. Provide the Change Reasons if prompted to do so.

If necessary, you can reverse the delete using the undelete option.
Restoring a Self Service Portal system
Before you start
You must have Self Service Portal Setup enabled within your General Access Security Role in order to configure any Self Service administration settings.
-
Select Menu
and then Admin. Select System Administration. The System Administration window is displayed. In the Explorer pane, locate the Self Service Portal group, scrolling down if necessary. You may need to expand the group to see the options within it. - Select Self Service Portal Systems to open the window.
- Select the Deleted radio button
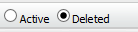 to display deleted Self Service Portal systems.
 - Select the system from the list.
- Select
 . The portal system disappears from view.
 - Select to save the changes. Provide the Change Reasons if prompted to do so.
- The Active radio button is automatically selected and you can see that the portal system has been recovered.