Service Portfolio Statuses
You can define service portfolio statuses that Analysts can apply to service entities within the Criticality and Status section of the CMDB Item Details window. An entity's service portfolio status reflects its lifecycle phase and visibility on the vFire Self Service portal, for example, Pipeline, Service Catalog, and Retired.
Creating a Service Portfolio Status
Before you start
You must have CMDB Setup enabled within your General Access security role in order to configure any CMDB administration settings. Depending on if or how your system is partitioned, ensure that you are working in the correct partition.
-
Select the Menu button
 , then Admin, and then select System Administration. The System Administration window is displayed
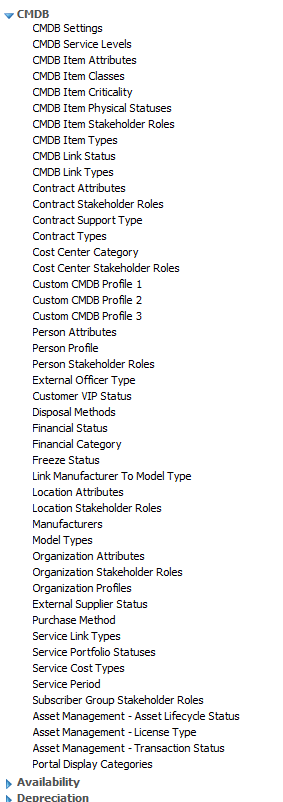
  . In the Explorer pane, locate the CMDB group
  , scrolling up or down if necessary. You may need to expand the group to see the options within it.
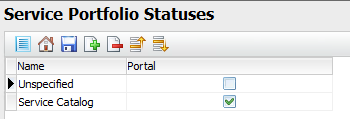
 - Select Service Portfolio Statuses to open the window. Existing portfolio statuses are displayed in a browse table, along with an indicator to show whether items with this status appear in the portal.
 (You may like to adjust the column widths to see all of the columns.)

- Select
 . A new row is added to the browse table.
 - In the Name field on the blank row, type the name of the new Service Portfolio Status.
- To display the service entities flagged with this portfolio status on the Self Service Portal, select the checkbox in the Self Service Portal column.
- Repeat for each status you want to create.
- Select
 to save the changes. Provide the Change Reasons if prompted to do so.
This option is selected by default if Service – Self Service Portal Default is selected in the CMDB Settings but you can override that setting by deselecting it here if you wish.
You can change the display order of the service portfolio statuses in the table. To do so, select a status and use  or
or  to change its position in the table.
Renaming a Service Portfolio Status
Before you start
You must have CMDB Setup enabled within your General Access security role in order to configure any CMDB administration settings. Depending on if or how your system is partitioned, ensure that you are working in the correct partition.
-
Select the Menu button
, then Admin, and then select System Administration. The System Administration window is displayed . In the Explorer pane, locate the CMDB group , scrolling up or down if necessary. You may need to expand the group to see the options within it. - Select Service Portfolio Statuses to open the window. Existing portfolio statuses are displayed in a browse table, along with an indicator to show whether items with this status appear in the portal. (You may like to adjust the column widths to see all of the columns.)
- Select the name of the Service Portfolio Status you want to rename.
- Overtype with the new name.
- Select to save the changes. Provide the Change Reasons if prompted to do so.
Deleting a Service Portfolio Status
Before you start
You must have CMDB Setup enabled within your General Access security role in order to configure any CMDB administration settings. Depending on if or how your system is partitioned, ensure that you are working in the correct partition.
You cannot reverse this procedure. If you delete a Service Portfolio Status by mistake, you have to re-create the entry by creating a new Service Portfolio Status.
-
Select the Menu button
, then Admin, and then select System Administration. The System Administration window is displayed . In the Explorer pane, locate the CMDB group , scrolling up or down if necessary. You may need to expand the group to see the options within it. - Select Service Portfolio Statuses to open the window. Existing portfolio statuses are displayed in a browse table, along with an indicator to show whether items with this status appear in the portal. (You may like to adjust the column widths to see all of the columns.)
- Select the service portfolio status entry you want to delete.
- Select
 . If you attempt to delete the system default, you will receive a warning message.
 - Select to save the changes. Provide the Change Reasons if prompted to do so.