You can use this list to identify reasons why calls may have been logged, or use it for closure reasons. Analysts will be able to select one of these from a drop-down list at the time of closing a call.
You may define as many reasons as you wish. Reasons can be reported on, but cannot be viewed on the Call Details window once the call is closed, unless the Call Details window has been configured in the Designer to include this field.
Creating a Reason
Before you start
You must have IPK Setup selected in the Admin tab of your General Access Security Role.
-
Select the Menu button
 , then Admin, and then select System Administration. The System Administration window is displayed, with a menu of options available
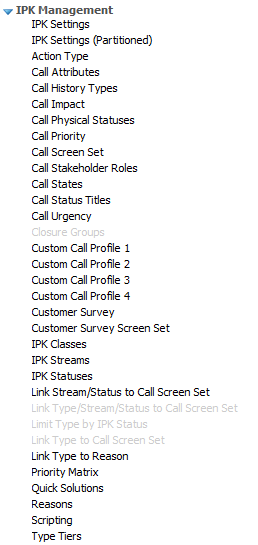
  . In the Explorer pane, locate the IPK Management group
  , scrolling up or down if necessary. You may need to expand the group to see the options.
 - Select Reasons to open the window. A browse table displays all of the reasons currently held.

- Select
 . A blank row is inserted in the browse table.
 - Type the name you want to use for the reason.
- Select
 to save the changes. Provide the Change Reasons if prompted to do so.
Renaming a Reason
Before you start
You must have IPK Setup selected in the Admin tab of your General Access Security Role.
-
Select the Menu button
, then Admin, and then select System Administration. The System Administration window is displayed, with a menu of options available . In the Explorer pane, locate the IPK Management group , scrolling up or down if necessary. You may need to expand the group to see the options. - Select Reasons to open the window. A browse table displays all of the reasons currently held.
- Select the reason that you wish to rename and type in the new name.
- Select to save the changes. Provide the Change Reasons if prompted to do so.
Deleting a Reason
Before you start
You must have IPK Setup selected in the Admin tab of your General Access Security Role.
-
Select the Menu button
, then Admin, and then select System Administration. The System Administration window is displayed, with a menu of options available . In the Explorer pane, locate the IPK Management group , scrolling up or down if necessary. You may need to expand the group to see the options. - Select Reasons to open the window. A browse table displays all of the reasons currently held.
- Highlight a reason in the browse table.
- Select
 . If you attempt to delete the system default, you will receive a warning message.
 - Select to save the changes. Provide the Change Reasons if prompted to do so.